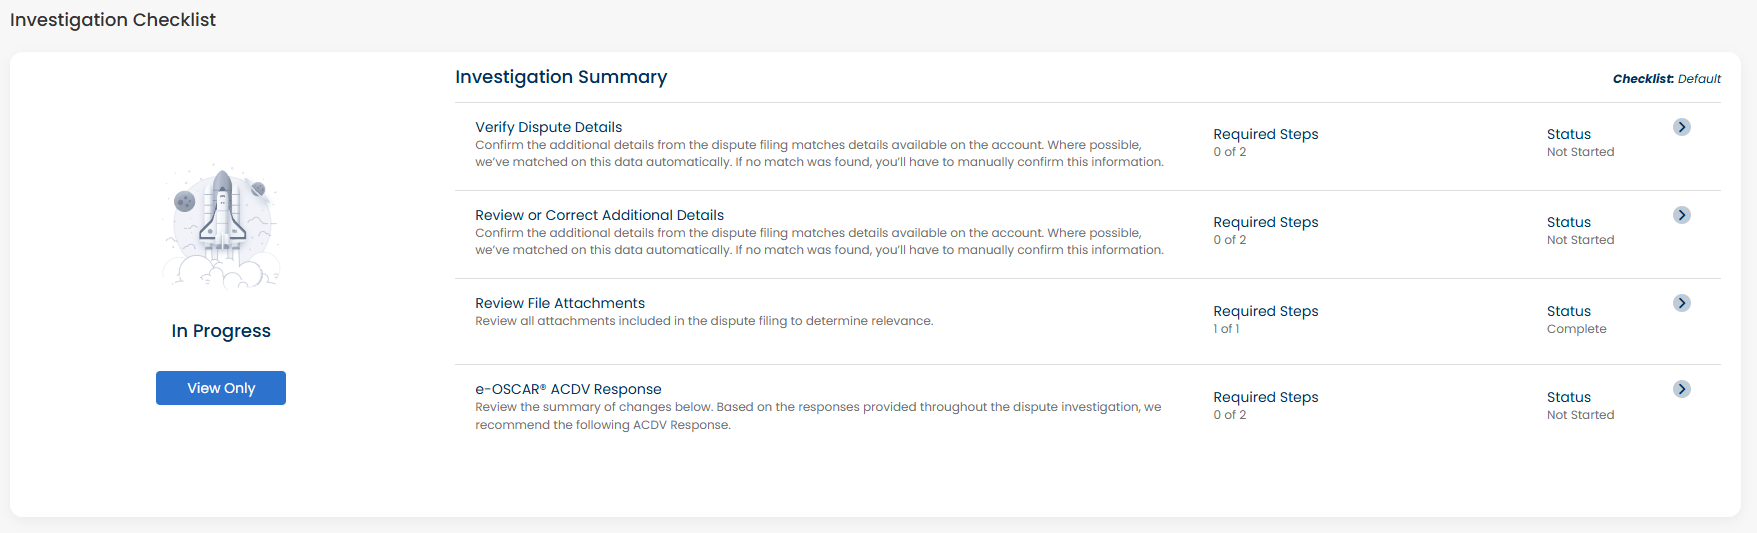
Case Checklist
The Investigation Checklist section on the page displays the investigation checklist associated with the case. This checklist contains the specific steps, questions, and options the Case Lead needs to complete in order to carry out the investigation. As the investigation progresses, the checklist serves as a guide to ensure that all required actions are addressed and documented.
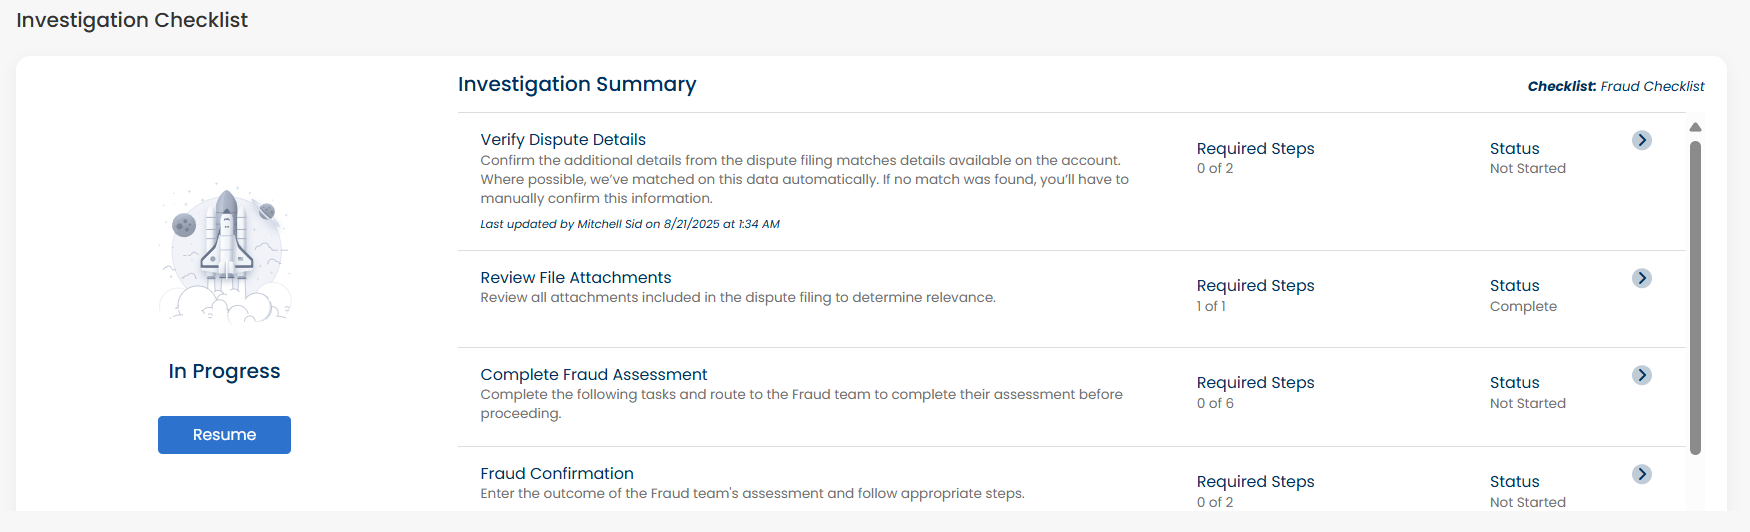
Launch a Checklist
To begin working with a checklist, open the case where you want to apply it. On the page, select Checklist or scroll down to the section.
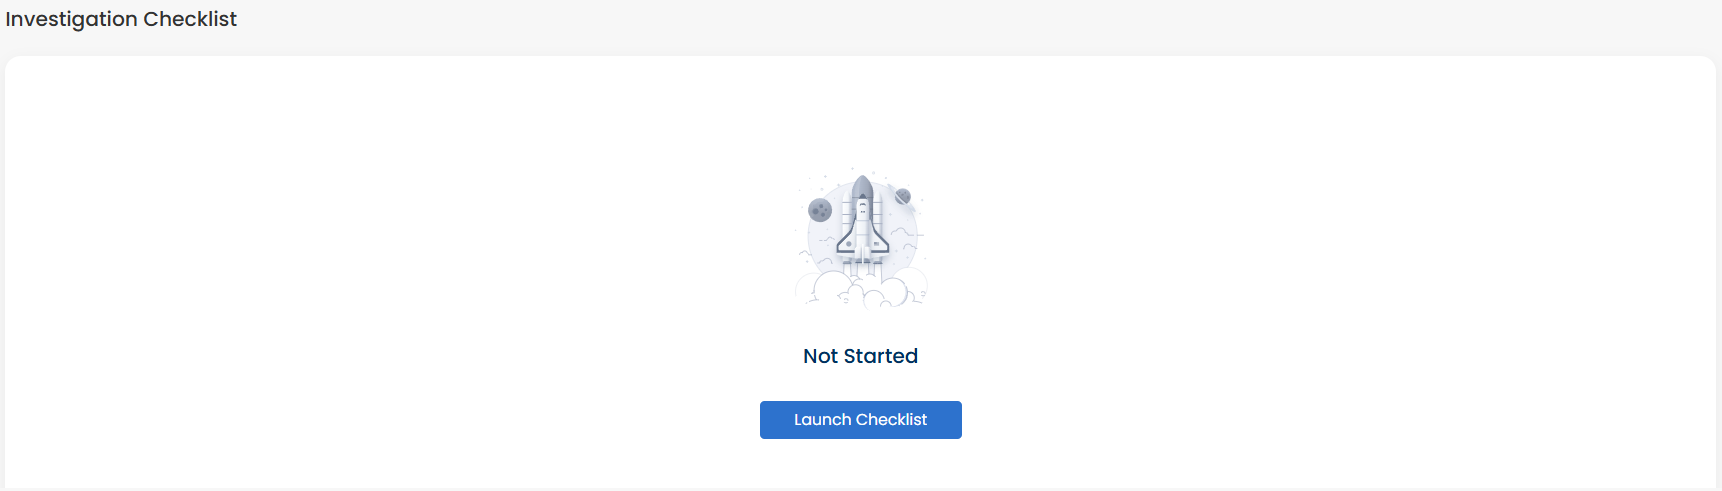
Click the Launch Checklist button to open the checklist.
Navigating Checklist Steps
Once launched, the checklist displays as a sequence of configured Steps that guide the investigation. Each step may include instructions, required fields, or actions you need to complete.
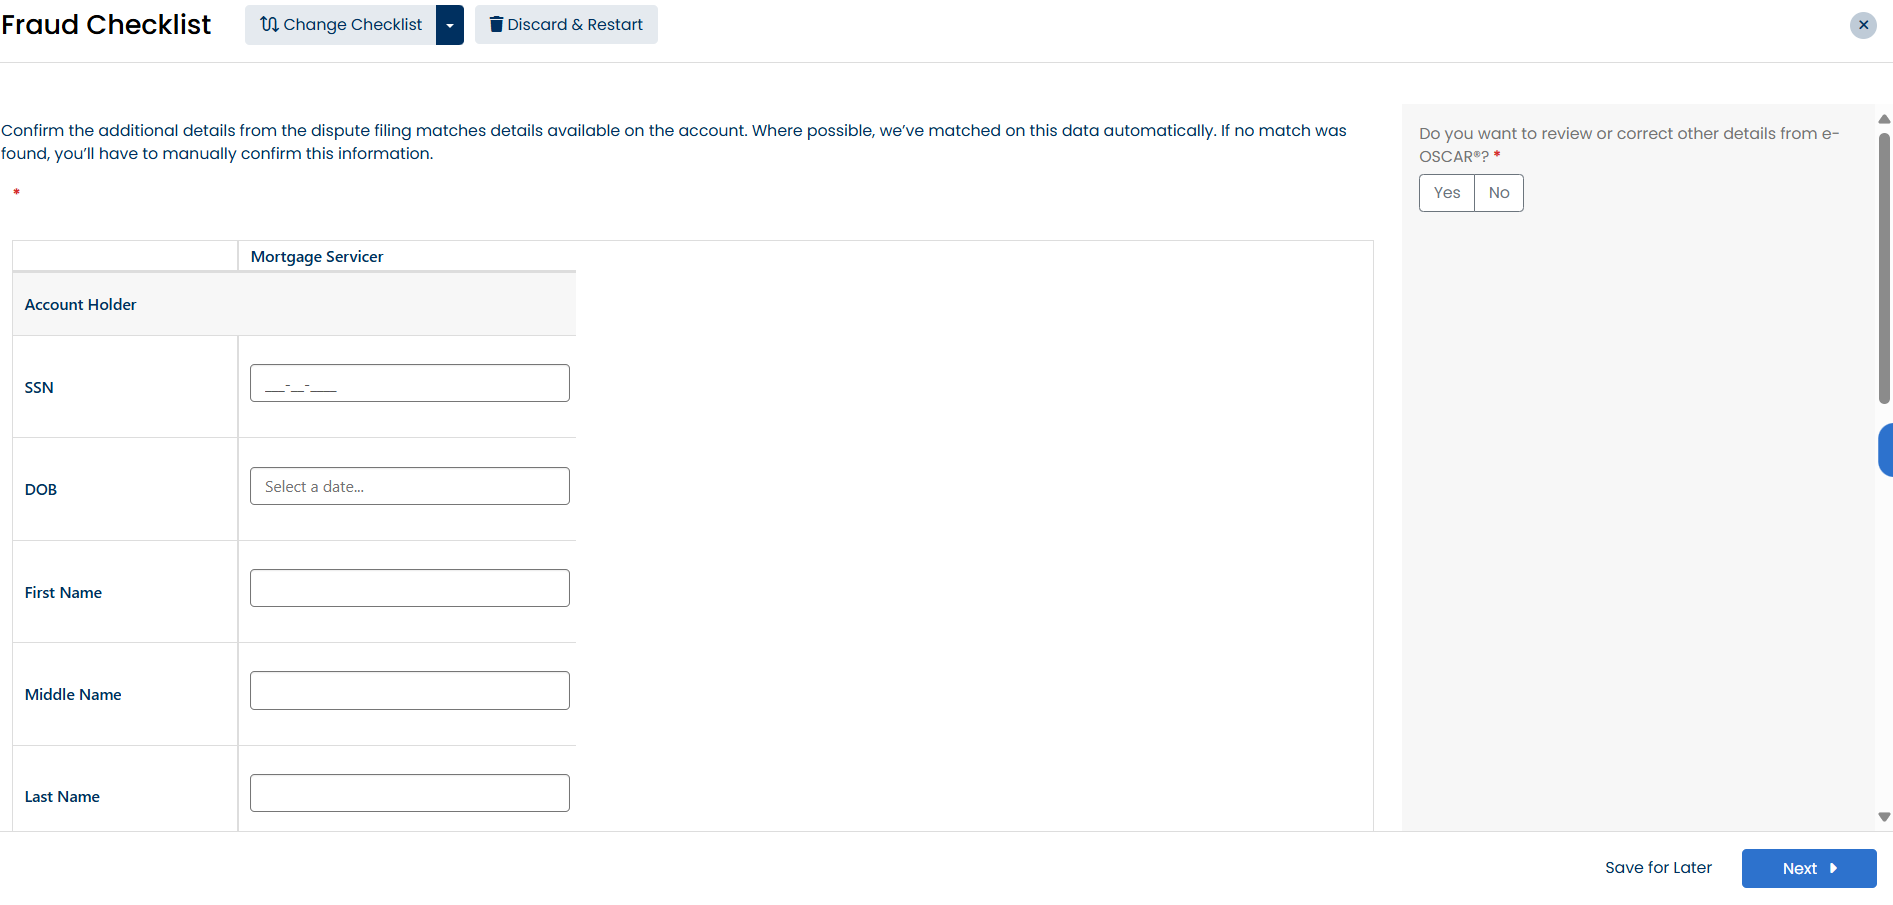
Move through the checklist by clicking the  button when you finish the current one. You can also save the checklist for later by clicking the
  button and resume it later. When you return to the case, you will be able to pick up exactly where you left off without losing any completed work.
Comparing Data from Different Sources
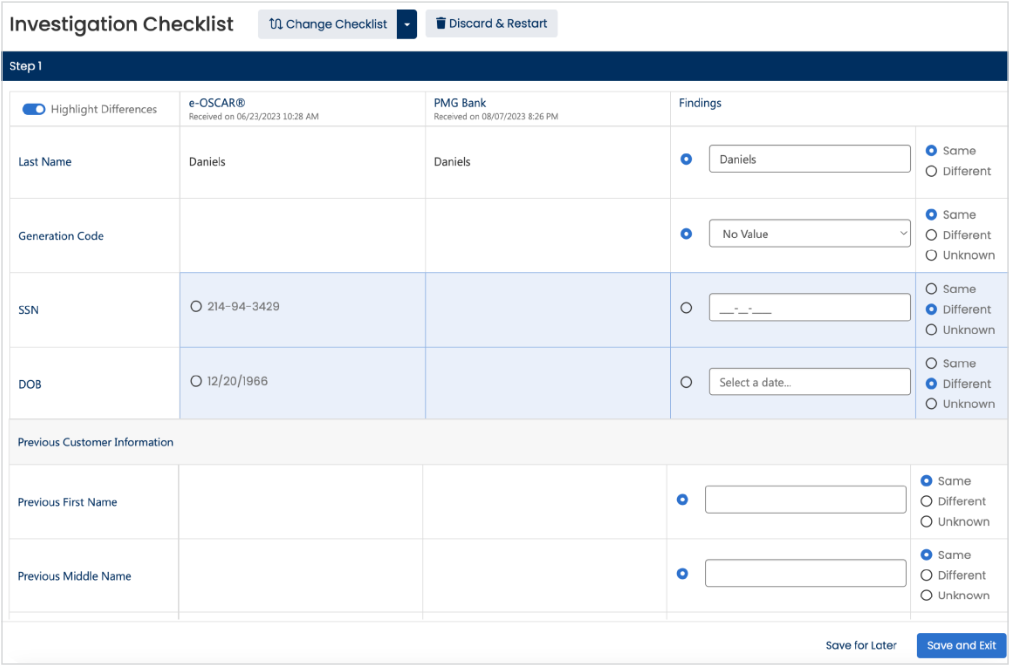
The Data Compare Content type allows the end user to review dispute details side-by-side with information from your organization's System(s) of Record, if set up as part of the Case Central implementation process.
When used in an Investigation Checklist, the step is rendered as a table with the data fields listed in the left-most column.
The originating dispute information is displayed in the next column over.
If one of more System of Record integrations has been set up, a column with data from the appropriate source system will also be displayed.
To the right of the System of Record column(s), the Findings column will be displayed. The team member will use this column to validate or update each field with its appropriate value.
Users can toggle the Highlight Differences setting to visually distinguish discrepancies between the originating dispute information and the System of Record column data. When enabled, this feature applies row shading to fields that differ.
Discard & Restart Checklist
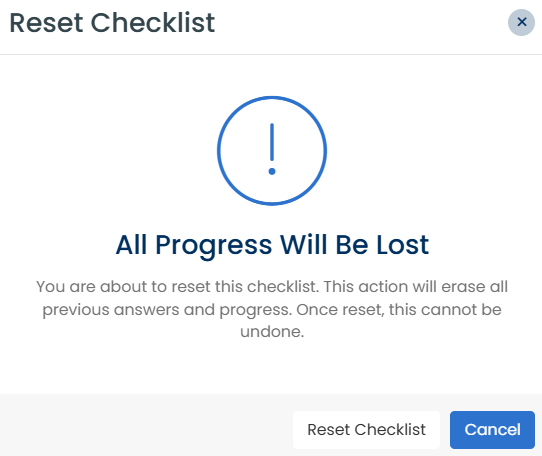
In some cases, you may want to discard your current progress and begin the checklist again from the start. This clears all saved progress and reloads a fresh copy of the checklist template.
Click
 on the checklist page.
The modal window will open. Click the Reset Checklist button to discard and restart the checklist.
Use the Latest Investigation Checklist
Case Leads can now update an Investigation Checklist to the latest version if one becomes available during the course of an investigation.
On the active checklist screen, navigate to the Header and click the Change Checklist menu option. If a new version of the current checklist exists, select Use Latest Version.
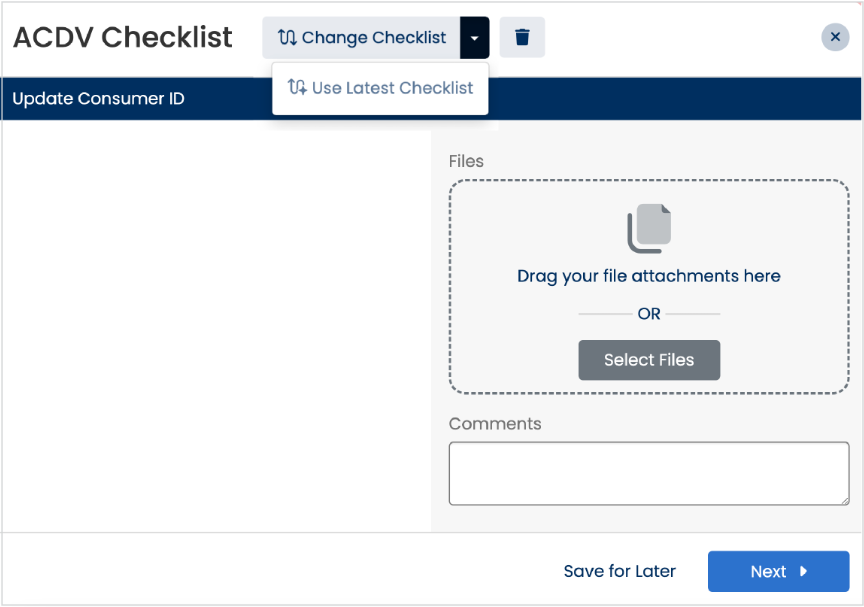
Any progress you’ve made will be saved.
If steps, questions, or option values have changed in the updated version, you may need to re-enter some information.
You also have the option to reset the checklist and start from scratch if desired.
View Checklist for Resolved Cases
For resolved cases, the Investigation Checklist is always read-only. Instead of a Launch or Relaunch button, you will see a View Only button. This makes it clear that the checklist can only be reviewed and not edited once the case has been resolved.