Case Details Toolbar
The Case Toolbar is located at the top of the page. It contains the Case ID, the Case Category, and a set of Quick Actions that allow you to perform activities related to the case. It may contain one or more Ribbons in the upper left corner to highlight key information about the case and, if the case does not yet have a Case Lead, a button to assign the case to yourself with one click. In the upper right corner of the Toolbar, the Case Navigator enables the user to go quickly to the next case, and below that, the Case Details Search feature allows you to perform a text search of the case's data to locate a specific data point if needed.

Case Ribbons
In the upper left corner of the Toolbar, colored ribbons will appear when a Case Threshhold has been triggered, when a case has a QA Status, and when certain other states are true.
Threshhold values: Due Soon, Due Today, Overdue
Additional status indicators: Bookmarked, Escalated, Reopened, Resolved, Auto-Resolved
QA Status values: QA Review Pending, QA Review Approved, QA Review Rejected

Case ID
The Case ID is assigned automatically when the case is created. It is the unique identifier for the dispute case and cannot be changed once assigned.
Go-To-Case Shortcut
From anywhere in Case Central, you can go to any case using the Find Case shortcut. Just hit Ctrl-X and type in the Case ID (a few numbers?) to open its Case Details page.
Case Category
Case Categories are predefined labels that classify cases at a higher level. They appear on the at the top of the page and serve as quick reference markers to help users understand the nature or source of a case. Administrators can create additional categories to fit user needs.
For example, the default category of e-OSCAR® ACDV identifies cases that originated from e-OSCAR® and are imported as Automated Credit Dispute Verification (ACDV) items.
Quick Actions
Quick Actions are shortcuts available in the Case Toolbar that allow you to perform common case-related tasks instantly. Instead of navigating through multiple tabs or menus, Quick Actions provide one-click access to essential tools, allowing you to send an email, log a call, assign a To Do, send a Letter, update the Case Status, open the Notepad, and edit the Dispute Details.
If a case does not already have a Case Lead assigned, the Case Toolbar provides a Make me Case Lead option.
Click the
 button to assign yourself as the Case Lead for the case.
The window will open.
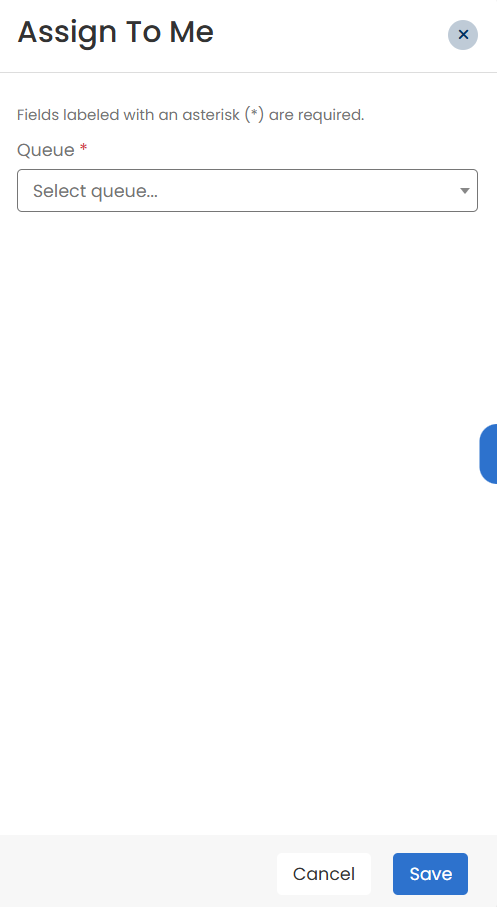
Select the relevant Queue from the dropdown and click Save.
Once assigned, your name will appear in the section under Case Lead.
The Send Email option allows users to quickly communicate about a case directly from the system. When composing an email, you can either write a new message or choose from predefined Email Templates.
On the Case Toolbar, click the
 icon. The window will open.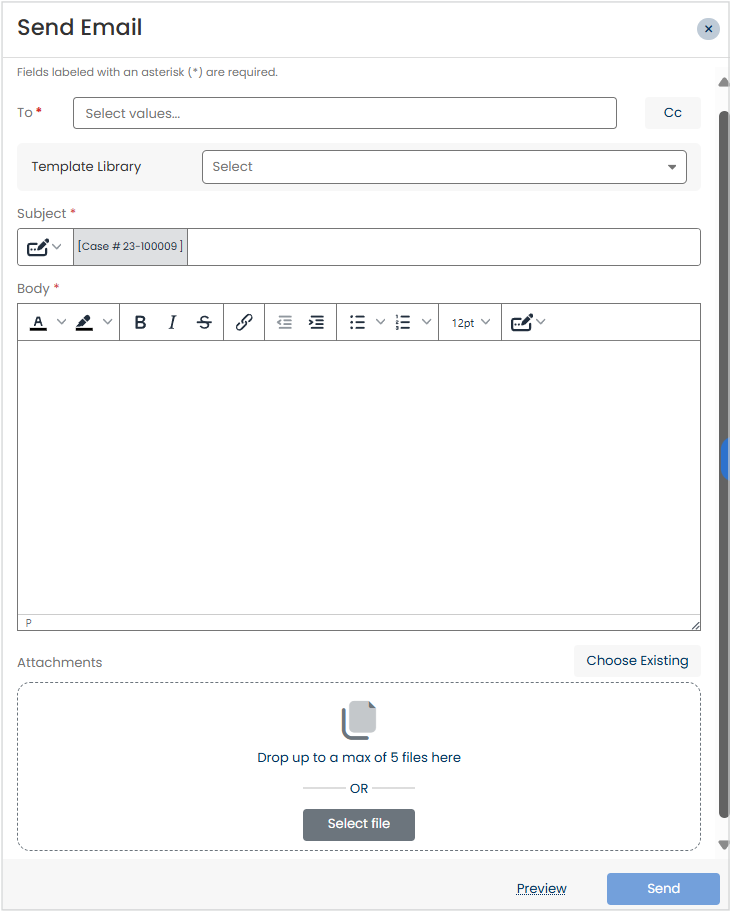
In the To field, select the user you want to send the email to from the dropdown menu.

In the Template Library dropdown, choose the relevant template (if applicable). This will populate the Body of the email with the relevant template content.
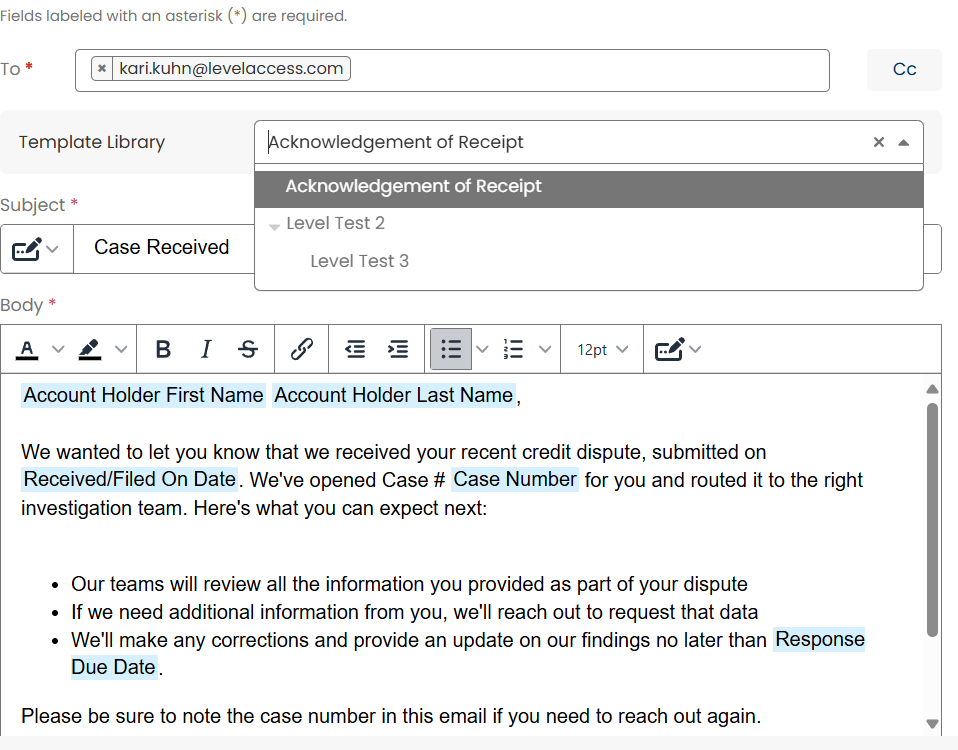
Enter the Subject of the email.
Customize the email Body as needed, including editing the text, applying formatting (bold, italics, colors, links, indentation, etc.), or adding additional details.
Add any Attachments - either upload new files or select existing files already attached to the case.
Click Send.
Note
Any dynamic fields in the template - such as Account Holder First Name, Case Number, etc.- will automatically be replaced with real data when the email is sent.
The feature allows you to capture and record the details of your calls relevant to the case. You can enter the subject, participants, date and time, call duration, and additional notes in the details section. An attachment option is also available if you want to include supporting documents. The call log is visible under the Activity Feed section.
On the Case Toolbar, click the
 icon. The window will open.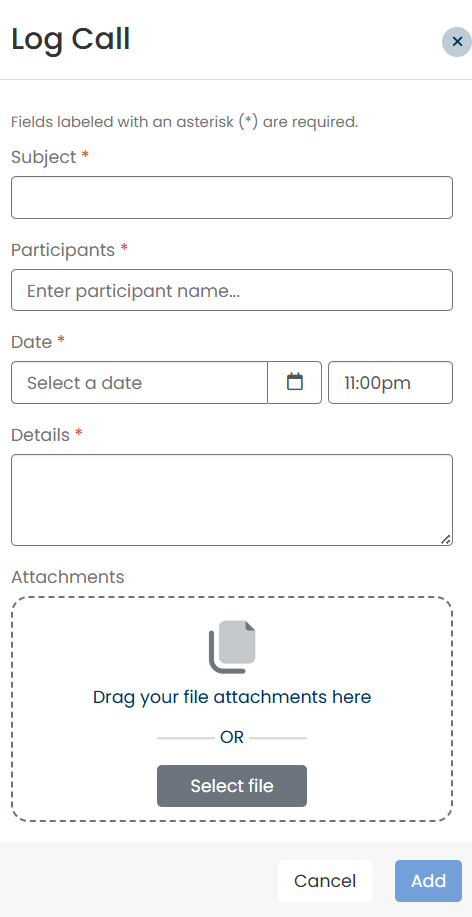
Enter the Subject of the call.
Add the Participants involved in the call.
Select the Date and Time of the call.
Enter relevant notes or call summary in the Details box.
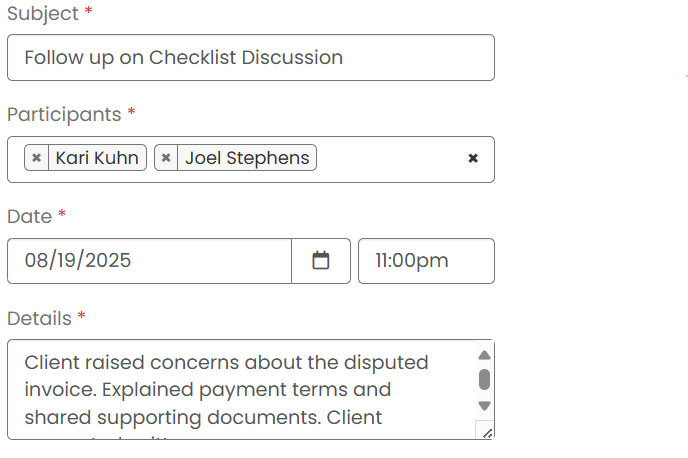
Attach any supporting files under Attachments.
Click Add to save the call log.
The option allows you to create case-related tasks or approvals, ensuring that responsibilities are clearly tracked and followed up on.
On the Case Toolbar, click the
 icon. The window will open.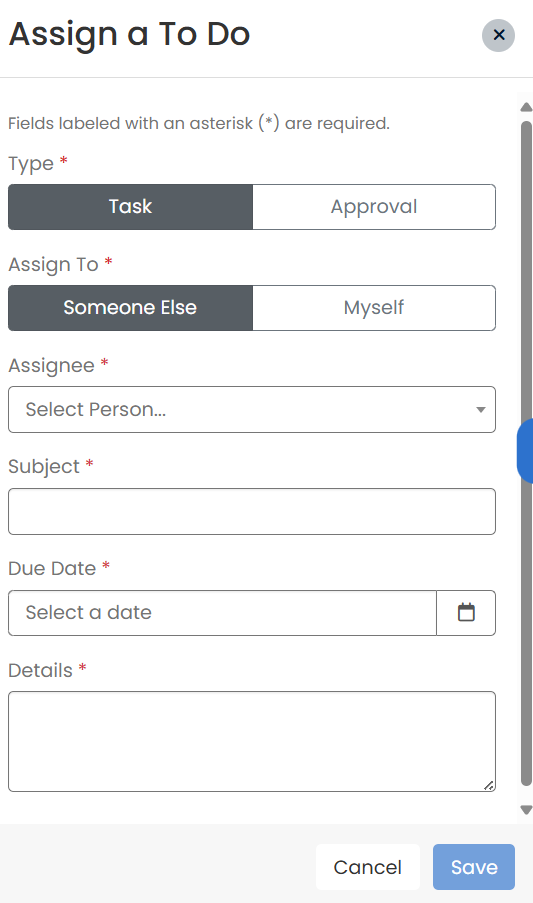
Select the Type:
Task (for general actions)
Approval (when sign-off is required)
Under Assign To, choose Myself if you will handle the task, or Someone Else to assign the task to another user.
Select the Assignee from the dropdown.
Enter a Subject that summarizes the To Do.
Set a Due Date for when the task/approval should be completed.
Add Details related to the task/approval.
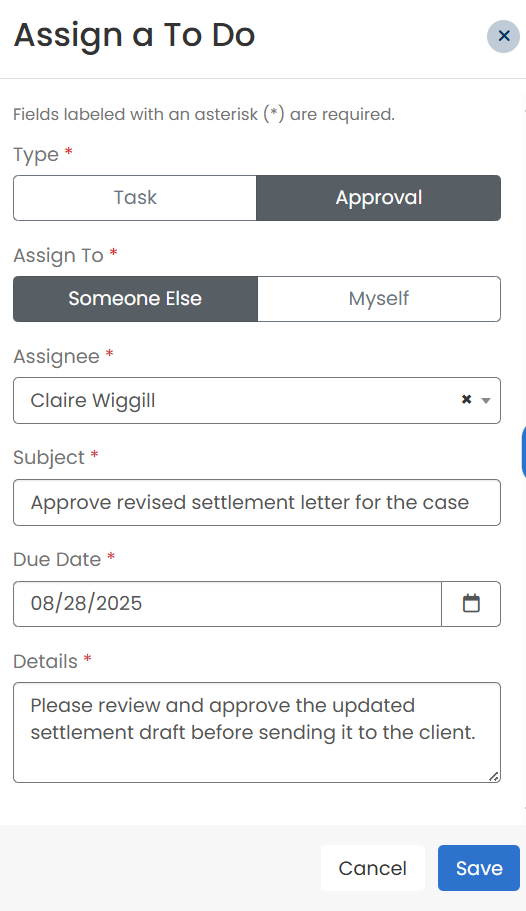
Click Save to finalize the To Do.
The Send Letter option allows users to generate and send letters related to a case directly from the system. Letters can be created from scratch or by using predefined Letter Templates.
On the Case Toolbar, click the
 icon. The Send Letter window will open.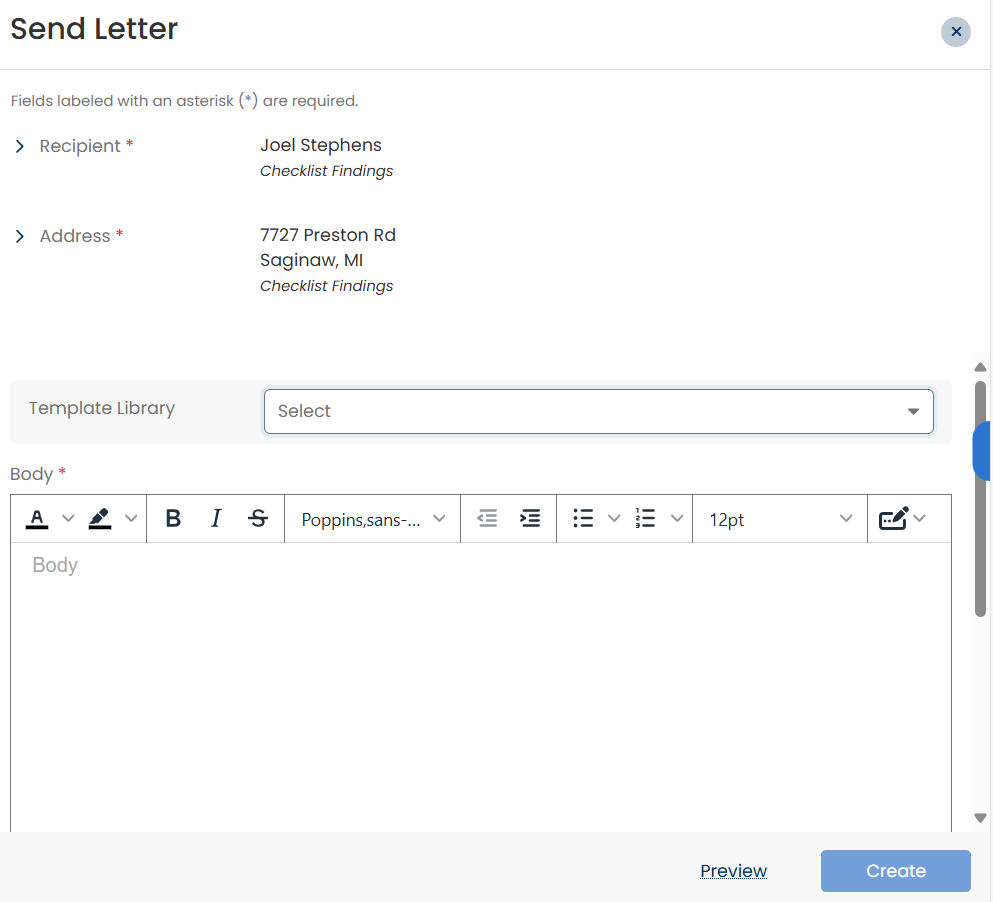
In the Recipient field, confirm the recipient details. For adding a new recipient, expand the Recipient and click the
 icon.
icon.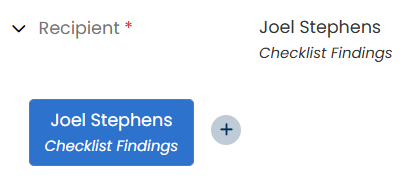
The Address field will automatically display the recipient’s address. Verify the details before proceeding. For adding a new address, expand the Address and click the
icon.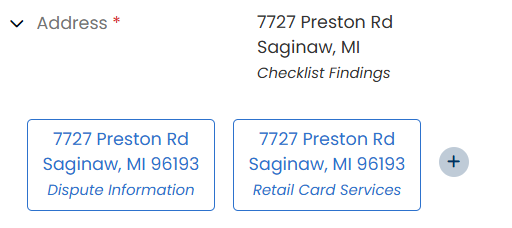
In the Template Library dropdown, choose the relevant letter template (if applicable). This will populate the Body of the letter with the selected template content.
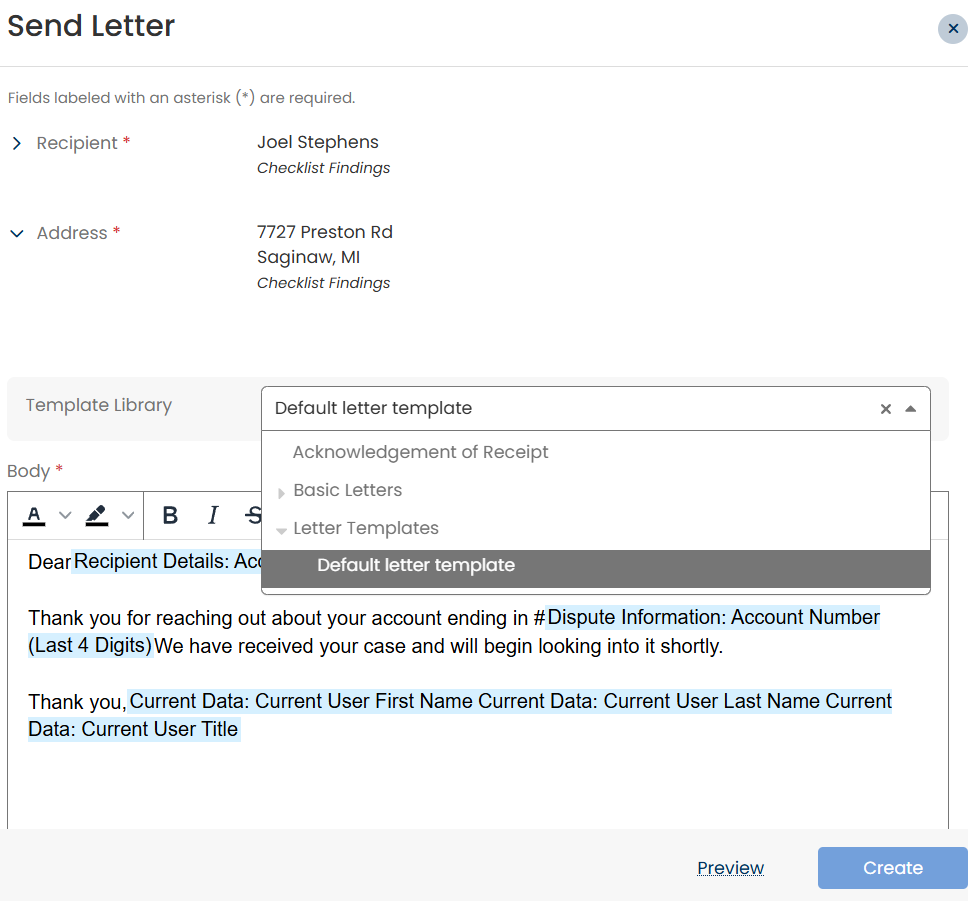
Customize the Body of the letter as needed. You can edit text, apply formatting (bold, italics, colors, links, indentation, etc.), or add additional details.
Click Preview to review the letter before finalizing.
When ready, click Create to generate the letter.
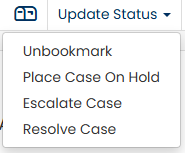
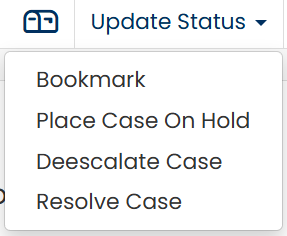
The Update Status dropdown allows you to change the current state of the case. The following options are available:
Bookmark – Mark the case for quick reference so it is easier to locate later.
Place Case on Hold – Temporarily pause progress on the case until further action is required.
Escalate Case – Raise the case to a higher priority or assign it to Case Lead for urgent attention.
De-escalate Case – Lower the priority of the case or return it to its previous level after the issue is under control.
Resolve Case – Mark the case as completed or closed once the issue has been addressed.
Selecting Bookmark marks the case for quick reference. A status ribbon indicating 'Bookmarked' appears on the Case Toolbar, making it easier to locate later in search results or case lists.

If a case has been bookmarked, you can also remove the bookmark by selecting Unbookmark from the Update Status dropdown.
Choosing this option opens the window. This feature allows you to pause progress on the case without closing it.
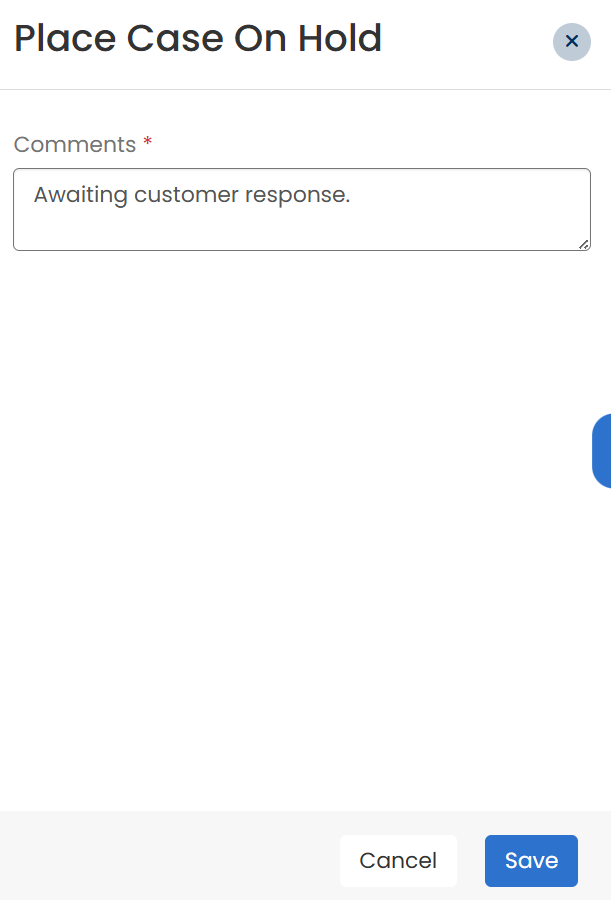
The window includes:
Comments - Enter comments explaining why the case is being placed on hold.
Save - Click Save to apply the on-hold status.
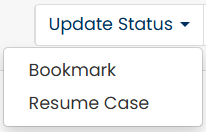
The case can be resumed by selecting the Resume Case option from the Update Status dropdown menu.
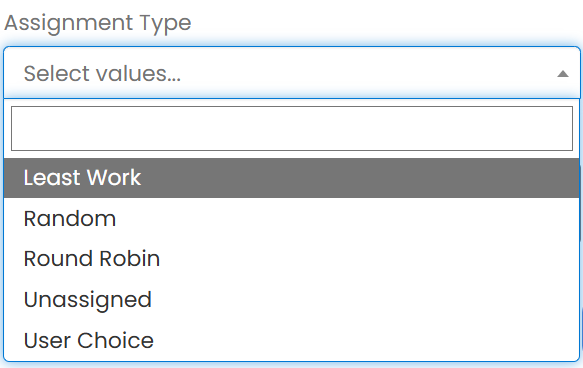
When you select Escalate Case from the Update Status dropdown, the system will open the window, where you can select how to reassign the case and provide remarks.
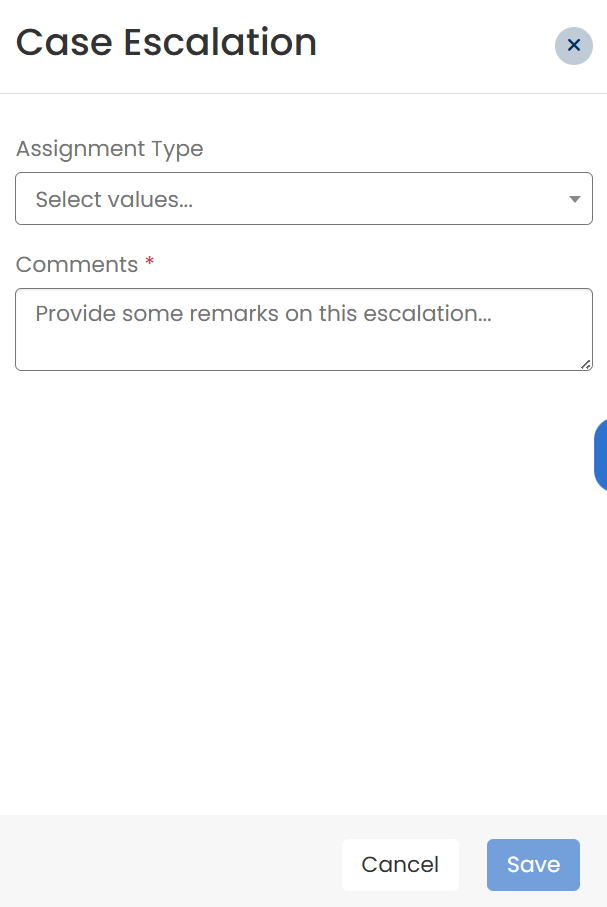
Assignment Type - Choose how the case should be reassigned: Least Work, Random, Round Robin, Unassigned, or User Choice.
Comments – Enter remarks explaining why the case is being escalated (required).
Click Save to confirm. Once saved, the case is reassigned according to the chosen Assignment Type and the Escalated status ribbon appears on the case.
Note
If you are not part of the assigned queue, the system will display an error message indicating that there are not enough contacts in the queue to escalate the case.
You can de-escalate a case if the issue no longer requires escalation.
From the Update Status dropdown, select Deescalate Case.
The window opens.
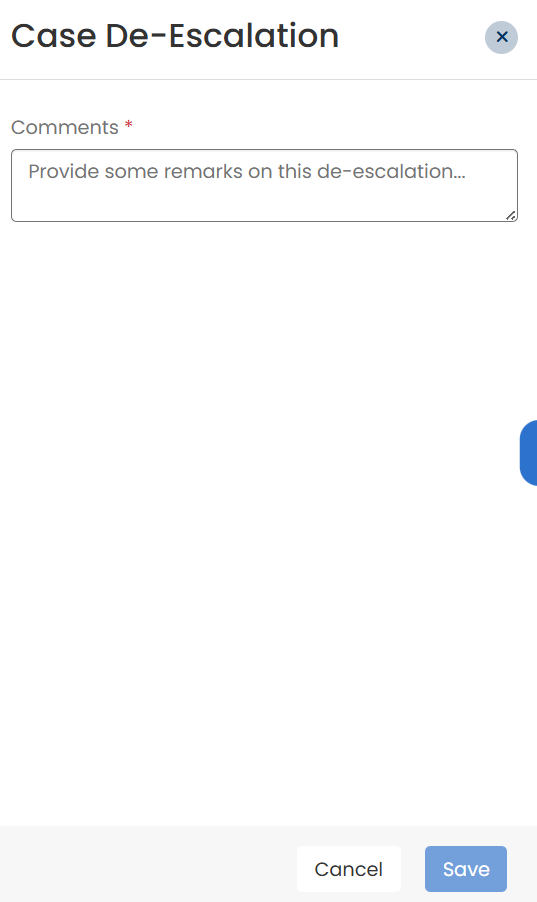
Enter details in the Comments textbox explaining why the case is being de-escalated.
Click Save to confirm.
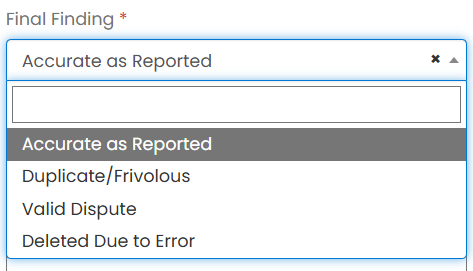
Selecting Resolve Case opens the window, where final case findings are documented before closure.
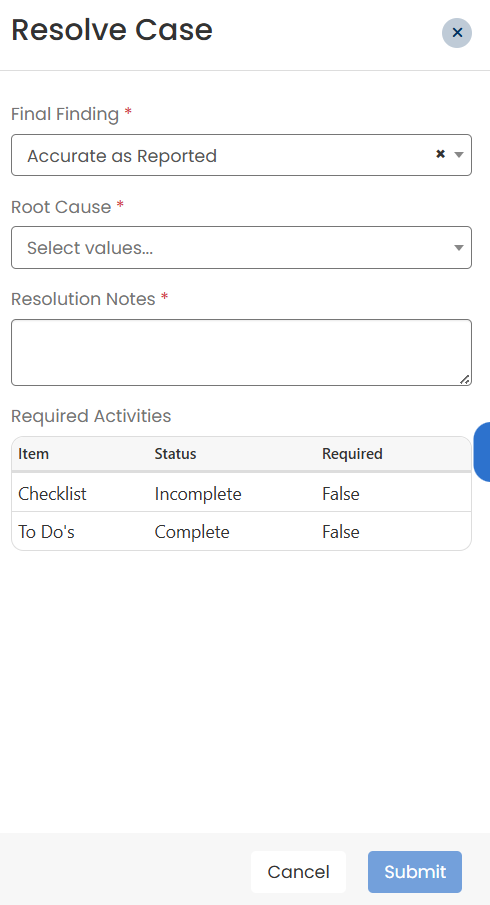
Final Finding - Select the case outcome from the dropdown.
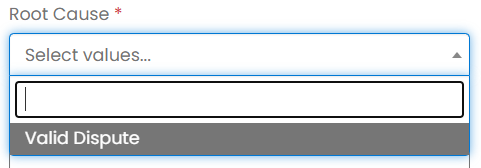
Root Cause - Identify the underlying cause
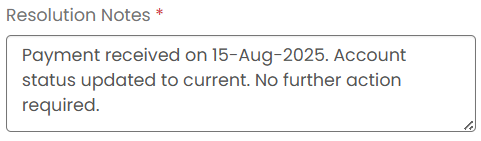
Resolution Notes - Provide a detailed explanation of the resolution.
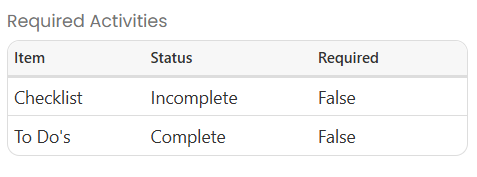
Required Activities Checklist - Displays mandatory tasks that must be completed before resolution
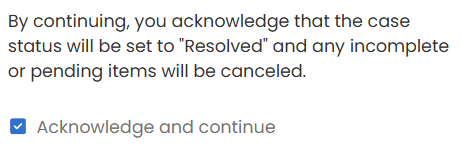
Acknowledge & Continue - You must check this box to confirm that all required activities have been completed and pending items will be canceled.
Submit - Click
 to finalize resolution. The case will move to a Resolved state.
Case Notes allow you to record important details, reminders, or updates while working on a case. They can be kept for personal reference or shared with team members by tagging them directly in the note.
Make a Note
On the Case Toolbar, click the
 icon. The Notepad window will open.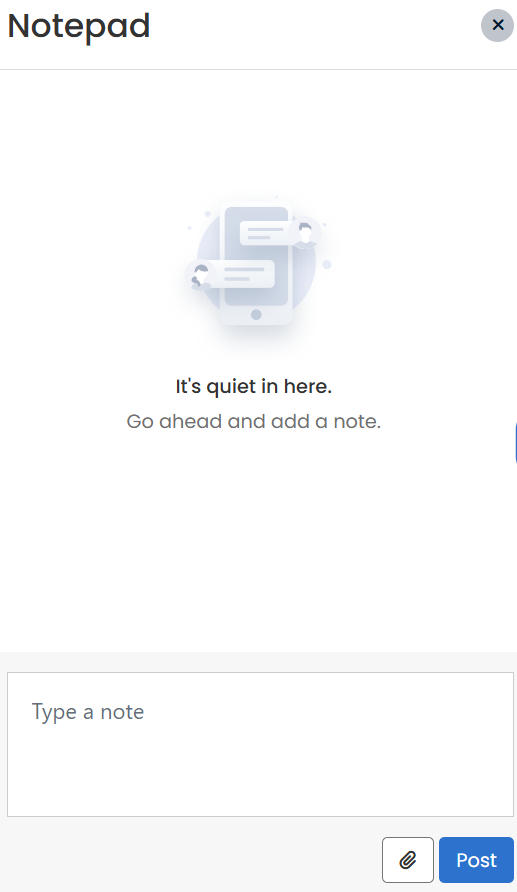
Type your note in the textbox.
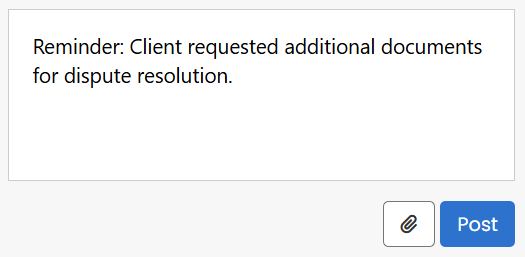
Click the
 icon to upload supporting files.
Click Post to add the note to the case.
Tag a User in Notes
In the note text box, type @username to mention a team member.
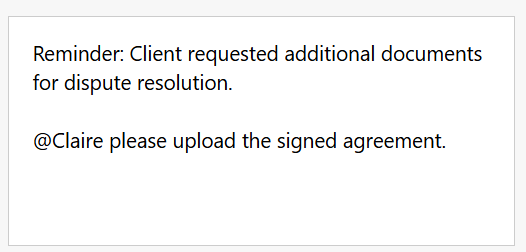
The mentioned user will be notified and can view the note in the case.
Notepad Availability
The is always visible, even when a case is in an inactive state such as On Hold, Pending QA Review, or Resolved.
In these states, notes can still be viewed, but the switches to read-only mode, so editing or adding new notes is disabled.
Make a Note
On the Case Toolbar, click the
icon. The Notepad window will open.Type your note in the textbox.
Click the
icon to upload supporting files.Click Post to add the note to the case.
Tag a User in Notes
In the note text box, type @username to mention a team member.
The mentioned user will be notified and can view the note in the case.
The Case Details Search functionality allows a user to quickly locate a piece of information on the Case Details page. By typing a search term into the box provided, Case Central will return a list of locations with matching text. The search runs in real-time and will work with as little as one character, although using more will, of course, return better results.
Case Details Search evaluates data field values contained in Case Highlights, all of the Case Summary Tabs, and the Activity Feed. However, at the current time it will not search data from the Case Details Header, the Case Checklist or the Checklist Summary, Case Attachments, To Do's, and Related Cases.
To use Case Details Search, click on the  icon to access the search box. As you type in the value you want to locate, matching results will appear below the search box along with an indication of where they care located on the page.
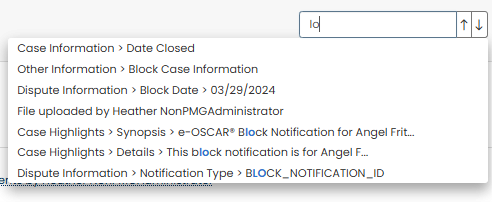
On the displayed screen, fields containing a matching value will be highlighted with background shading.
To select a particular search result, you can select the line item directly from the results list or use the  arrows to move through the list. In addition to the background shading that indicates each of the matched results as they appear on the screen, the selected result will appear with a dashed box around the value.
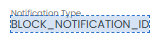
To close Case Details Search, simply click on the icon again.
Note
The search box will retain the last value entered until the end-user navigates away from the case.
Case Navigator
The Case Navigator allows you to quickly move between cases without returning to the page.
Click the
 arrow to go to the previous case.
Click the
 arrow to go to the next case.
There are two navigation modes available:
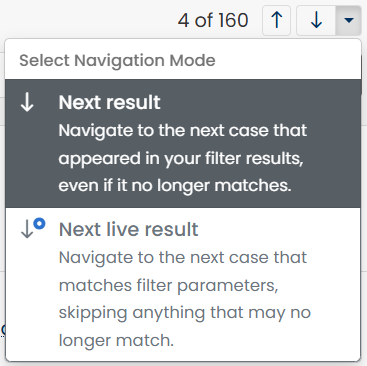
Next Result – Moves to the next case from your original filter results, even if the case no longer matches the filter.
Next Live Result – Moves to the next case that currently matches your filter parameters, skipping any cases that no longer match.
Example - Case Navigator
Suppose you filter cases by Open status. If one of those cases gets resolved while you’re navigating:
In Next Result, you will still navigate to that resolved case.
In Next Live Result, the resolved case will be skipped, and you will move to the next case that is still Open.