Case Central® offers customers a way to ensure team members follow approved processes to review relevant information and resolve disputes. These Investigation Checklists can be created in as many variations as needed and associated with each case based on dispute data values such as Dispute Code and/or Dispute Type. Once configured, Checklist Assignment Rules can be set up to ensure that the appropriate Checklist will be incorporated into each case record.
The Investigation Checklist feature is both powerful and flexible. This page includes administration information for the Checklists that have already been created in the system.
Certain administration functions apply to the use of Investigation Checklists as a whole, including settings that affect configuration options globally within each customer's implementation. Information on those features can be found under Checklist Configuration Settings.
Explantory information and descriptions of the content types contained within a given Checklist can be found under Checklist Creation.
Administration Guide
Who Can Use this Feature?
Management and use of this feature is available to all users with an Administrator license, by default. Users with a Standard license who have been granted Investigation Checklists site rights also have access to this feature.
An additional user permission is needed for Data Compare Configuration, which requires an Administrator license or a Standard license with both Investigation Checklists and Data Compare Configuration site rights granted.
Where Is It Set Up?
To access the page, click on the vertical sidebar menu. Then go to → .
Investigation Checklists Helpful Tips
Filtering Results
The page offers Text Filters to refine the results list and make it easier to find an existing Investigation Checklist. This is particularly helpful in a larger organization or when more than one page of results is returned.
To narrow down the results by one or more keywords, enter a search term in the Text Filter box above the results list. Click Enter.
Leverage Migration Tools
Case Central® makes it easy to move Investigation Checklists from one environment to another. Use the Export and Import actions on the configuration page to migrate a published configuration from Dev to Test to Prod or whichever direction you need.
The required format for Checklist configuration documents is JSON.
Managing Investigation Checklists
Edit Checklist Properties
On the Checklist configuration page, click the
 icon in the upper right corner of the screen and select Edit Properties to open the panel.
Update the Display Name value as desired.
The Name field will show as read-only because this is the name the system is using for the Checklist. It cannot be changed.
The Display Name is the name for the Checklist that will be shown to users. It can be updated.
Click Save.
Edit Checklist Steps or Content
On the page, click anywhere on the row containing the Investigation Checklist that needs to be edited.

The Checklist configuration screen will open.
Make any changes needed. The interface is the same as when adding a new Checklist.
Click
 to make your changes Active.
On the configuration page, click the
icon in the upper right corner of the screen and select Save As to open the panel.Type the Name for the new, duplicate version of the Checklist.
Click Save.
On the Checklist configuration page, click the
icon in the upper right corner of the screen and select Delete.The following pop-up message will appear. Click Delete Checklist to delete the checklist. Click Cancel or
 if you do not want to delete the checklist.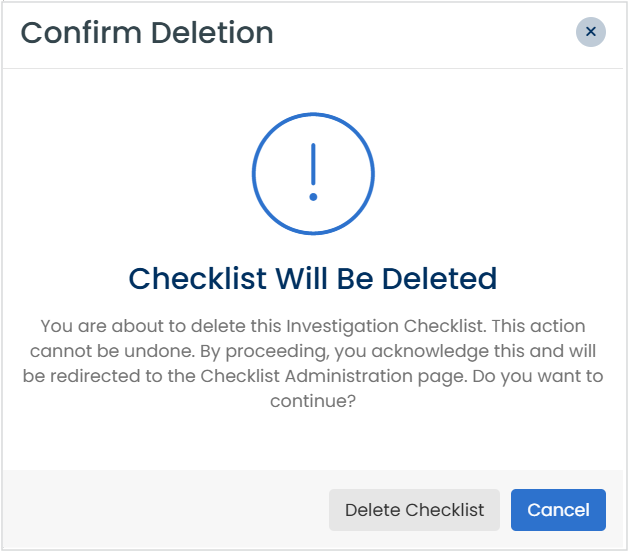
Note
You will not be able to delete a checklist that is currently being used in any of your Checklist Assignment Rules. If you attempt to delete a checklist that is in use, the following message will appear instructing you to remove the assignment rule before proceeding.
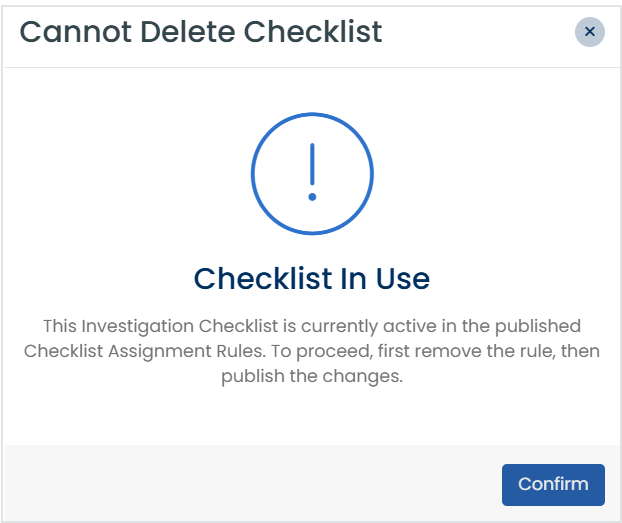
Export a Checklist
On the configuration page, click the
icon.Choose the Checklist version you want to export.
Select Export Current to export the present configuration, even if it is not yet published.
Select Export Last Published to export the version that was last published, which will exclude any unpublished changes.
You will be prompted to either open or save the JSON export file.
Import a Checklist
On the page, click the
 dropdown and select Import Checklist.
A panel will open prompting you to select the JSON file for the Checklist you wish to import.
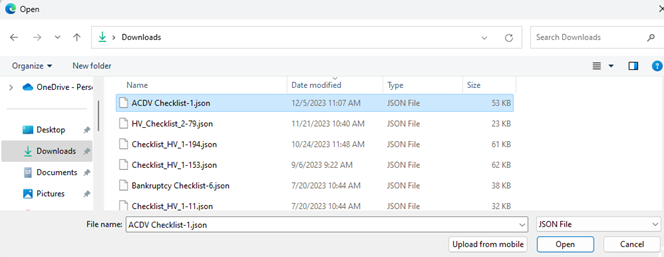
Click Open.
Once imported, the Checklist must be published before it is available for use.