Case Central® offers bi-directional integration to e-OSCAR® to receive ACDVs and Block Notifications and to send AUDs. Easy-to-use administration tools manage the data flow between systems through an API connection, and any necessary updates to the incoming e-OSCAR® data feed or outgoing response parameters are managed seamlessly.
By handling all cases and investigations within the same system, Case Central can help streamline the operational management of disputes. For organizations with more than one e-OSCAR® Registration ID, Case Central can accomodate receipt and delivery of multiple data feeds. Administrative users can configure each Registration ID to align with their organization’s business processes. Options include:
Items to Import - selecting ACDVs, Block Notifications, or both
Import Run Time - setting when the daily import should occur
Account Status - disabling or re-enabling an account
Dispute responses are generated, validated, and sent to e-OSCAR® as soon as a case is set to Resolved. The responses automatically include the dispute investigation findings and any changes that should be made to trade lines.
Subscriber Codes, which determine how data is routed to credit reporting agencies, can also be managed at the account level from within the system. Both manual entry and bulk import are supported.
Administration Guide
Who Can Use this Feature?
Management and use of this feature is available to all users with an Administrator license, by default. Users with a Standard license who have been granted e-OSCAR® site rights also have access to this feature.
Where Is It Set Up?
To access the page, click on the vertical sidebar menu. Then go to → .
Prerequisites
To enable integration with e-OSCAR®, customers must accept the API License Agreement and Addendum Regarding Utilization of a Third Party Service Provider. Once completed, an API User will need to be created.
Before beginning the process of setting up a connection to e-OSCAR®, be sure to have the following information handy:
Registration ID (7 digits)
API Username
Authorized Name
Data Furnisher Name
Data Furnisher 10-digit Phone number that are used for AUD submissions
Enter the Password and API Key provided for the API user
Import Optional Settings
Additional Import Optional Settings allow for greater control over case intake and allow administrative users to refine how cases are imported from e-OSCAR®.
Import Start Date
Allows the user to specify a future date to begin importing cases from e-OSCAR®. If left blank, imports will begin automatically at the system’s next scheduled time (typically within 24 hours).
Once set and the first import completes successfully, this date cannot be changed or backdated.
Include Already Received Cases
Users can choose whether to include previously received cases during imports.
If enabled, additional selections appear allowing the user to choose how often they want this to occur and how far back the system should go for previously received cases.
Set Up a New e-OSCAR® Integration
Follow the steps to add a new Registration ID to connect an e-OSCAR® account to Case Central®. Upon completion, the credentials will be validated and a mandatory password reset will be initiated. If the authentication fails, check the supplied values and try again.
Upon successful authentication, a confirmation message will be displayed, and the Registration ID will be available to manage from the management screen.
Repeat these steps for each Registration ID.
Case Central® enables scheduling the start time of daily imports from e-OSCAR® to support customers' various dispute volumes and the timing of start-of-business activities. When multiple Registration IDs have been configured using the same start time, imports will occur sequentially, starting with the first account at the import start time. If updates are saved after the daily import has started, they will be applied to the next run.
Select the option from the
 menu.
menu.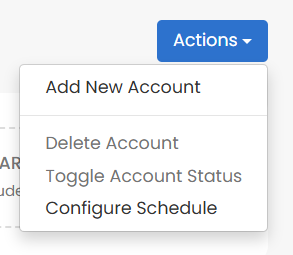
Enter a Name of your choosing to be used as the display name in Case Central® to represent this e-OSCAR® account. The value entered must contain only alphanumeric characters.
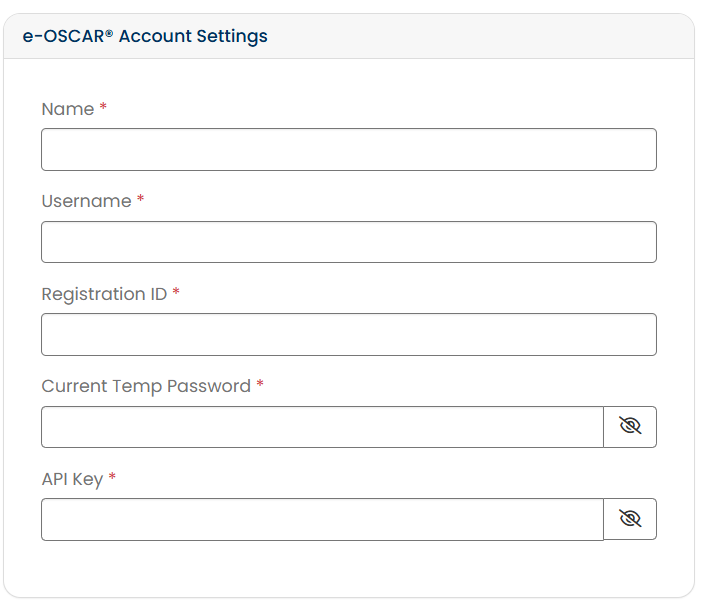
Enter the API Username from e-OSCAR®.
Enter the 7-digit Registration ID.
Enter the Password and API Key provided for the API User.
Configure the fields in the section.
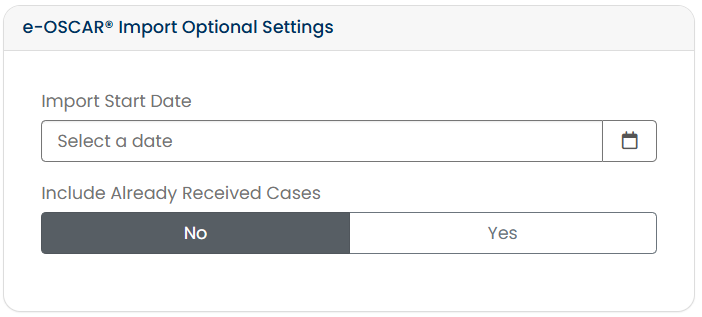
Set the Import Start Date by selecting a future date to begin importing cases from e-OSCAR®. If left blank, imports will begin automatically at the system’s next scheduled time (typically within 24 hours).
Note
The Import Start Date cannot be backdated, and once the first import has completed successfully, the date cannot be changed.
Choose whether to Include Already Received Cases by selecting Yes or No.
If Yes is selected, additional configuration options appear:
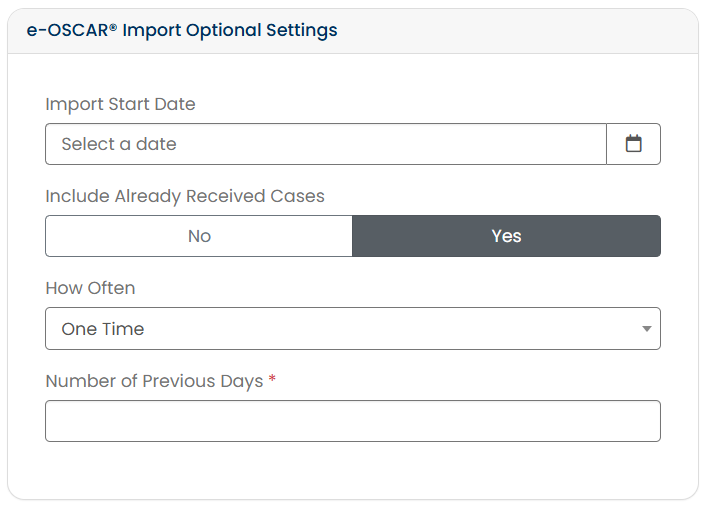
How Often: Select One Time to import past cases once or Every Time to include previously received cases in every import.
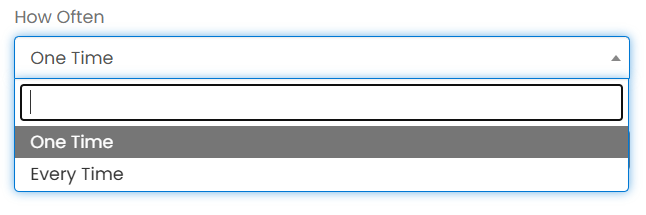
Number of Previous Days: Define the lookback period for previously received e-OSCAR® cases.

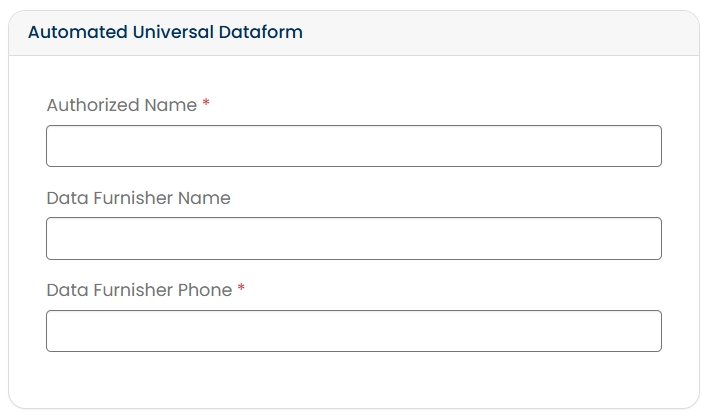
In the section, provide the values used for your AUD submissions. Authorized Name and 10-digit Data Furnisher Phone number are required fields, while Data Furnisher Name is optional.
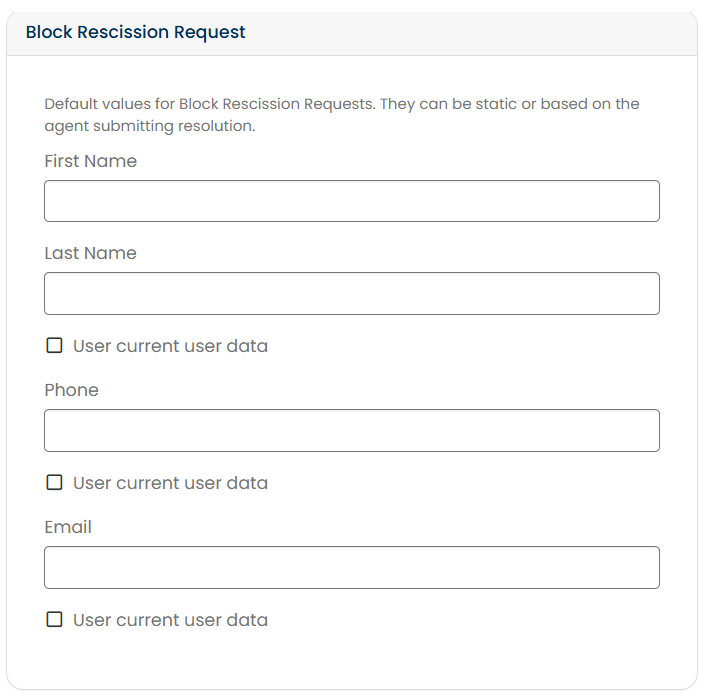
If the e-OSCAR® account will be used to submit Block Rescission Requests , complete the information for that section. Submitter's Name, Phone, and Email address may contain static values or can be populated dynamically using the name of the team member resolving the case and submitting the request to e-OSCAR®.
Click Add.
Tip
Always test a new connection once added to ensure that it is working.
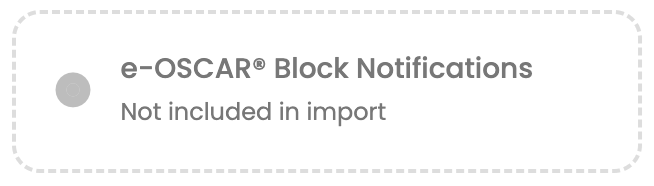
In the section of the screen, select which case types are imported with each daily import: ACDVs, Block Notifications (including Block/DR Notifications), or both.
To enable or disable e-OSCAR® ACDV imports, select or deselect the related tile.
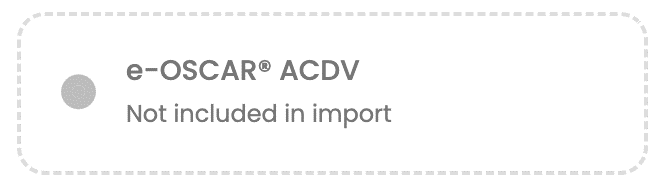
To enable or disable e-OSCAR® Block/DR Notifications, select or deselect the related tile.
Click the
 icon in the section at the upper left corner of the screen. The panel will open.
Choose the time zone for the Import Start Time.
Enter the desired start time in HH:MM format and based on a 24-hour clock. For example, enter "10:30" for "10:30 AM" or "22:30" for "10:30 PM".
Click Save.
Administrative users can manage existing e-OSCAR® account integrations by editing the configuration parameters, disabling the import and response for the account, or deleting the connection completely.
Locate the appropriate row in the results table, and click the
icon to open the panel.You can edit :
Connection Type - Select the connection type.
Name - Enter or change the display name for the account.
Username - Enter a username (must be 20 characters or fewer). If using an email address, ensure it meets the character limit.
Registration ID - Add or update the unique Registration ID used to authenticate with e-OSCAR®.
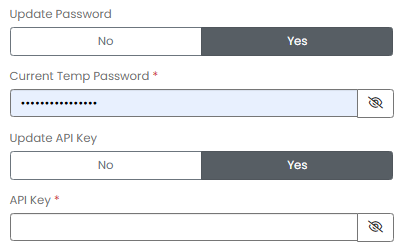
Select whether you want to update the Password or the API Key.
Select Yes if you need to reset the Password/API Key.
Under , update whether to Include Previously Imported Records as needed.
In the section, you can update the Authorized Name, Data Furnisher Name, and Data Furnisher Phone used for your AUD submissions.
Update the Block Rescission Request settings, if needed.
Click Save.
Click the
 icon to test connectivity to e-OSCAR®.
Successful connections are indicated with
 .
.Issues with the connection are indicated with
 .
.
If the connection is unsuccessful, check the supplied values and try again.
Subscriber Codes are unique numeric identifiers assigned by Credit Reporting Agencies to data furnishers in order to route disputes data through e-OSCAR®. They ensure that disputes, ACDVs, and AUDs are sent to and from the correct entity.
Organizations often manage multiple Subscriber Codes to support different business units, product lines, or furnishing responsibilities. In Case Central, Subscriber Codes can be managed to drive automation rules, helping ensure that disputes are handled in alignment with your organization's operations and procedures.
Subscriber Codes Table
Once added, Subscriber Codes are displayed in a simple table format.
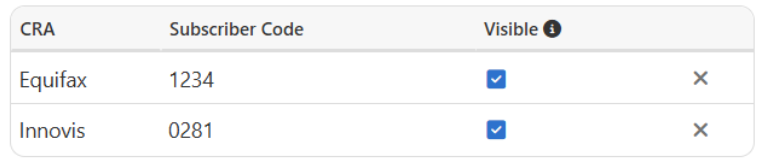
The Visible flag controls whether a Subscriber Code can be used in automation rules. By default, the flag is enabled. To remove it, click the checkbox to remove the checkmark.
Add a Subscriber Code
On the screen, click the
 icon under Actions for the relevant account to open the panel. The Acccount Name and Registration ID fields are displayed as non-editable.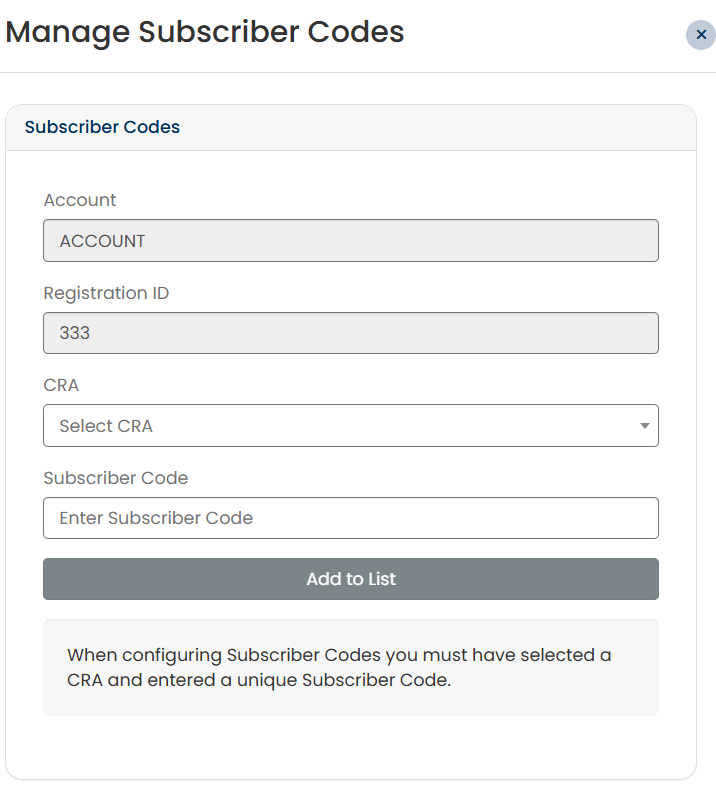
Select the appropriate Credit Reporting Agency.
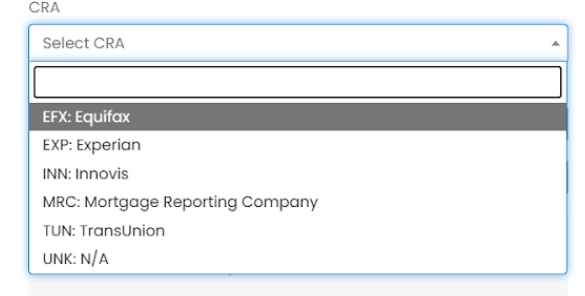
Enter the Subscriber Code and click Add to List.
Edit a Subscriber Code
To remove an existing Subscriber Code, click the x icon for the value you wish to remove.
Click Save to confirm changes.
Then, follow the instructions for adding a new Subscriber Code with the updated values.
Bulk Import Subscriber Codes
From the page, open the panel by clicking on the
icon under Actions for the relevant account.Scroll down inside the panel to find the Subscriber Codes Bulk Import section.
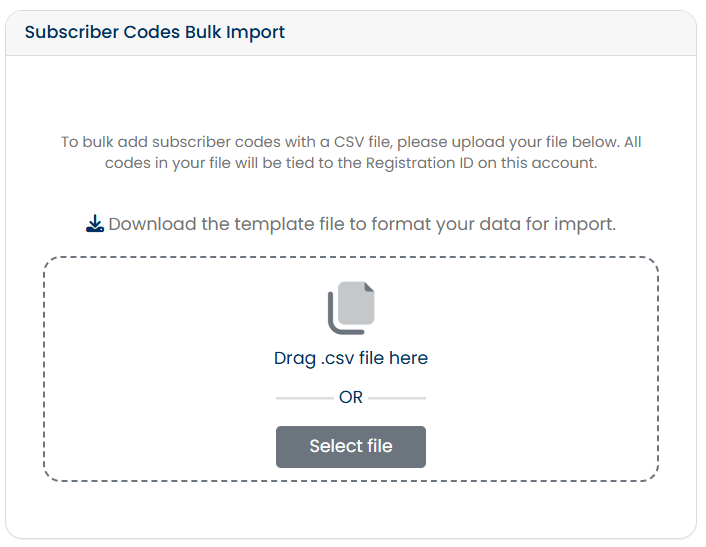
Click the
 icon to download the Bulk Import template file and fill it out by entering the CRA and Subscriber Code value pairs to be added.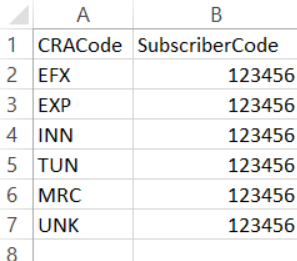
When the file has been completed, upload it via drag and drop or by clicking the Select file button.
Click Save to import the Subscriber Codes.
To temporarily disable an account, click the  icon to move the toggle switch to the left
  position. This will temporarily restrict the import and response to e-OSCAR®.
To delete an e-OSCAR® Registration ID from Case Central®, locate the appropriate row in the results table, and click the  icon.
icon.
Caution
Deleting an account removes all established connections and cannot be undone. To temporarily disable an account, see Toggle Account Status.