Administrative users can create and manage custom data fields that are used in their organization's dispute management process. While Case Central® provides numerous fields for capturing, storing, and rendering key information related to case management, e-OSCAR®, and most consumer accounts, sometimes a unique field is needed to collect data. For those circumstances, Case Central® supports User Defined Fields (or UDFs for short).
Administration Guide
Who Can Use this Feature?
Management and use of this feature is available to all users with an Administrator license, by default. Users with a Standard license who have been granted User Defined Fields site rights also have access to this feature.
Where Is It Set Up?
To access the page, click on the vertical sidebar menu. Then go to → .
Helpful Tips
Plan Ahead
Review the data fields that already exist by default in Case Central® first to ensure that the new field you want to create is not already available. While User Defined Fields are supported, the out-of-the-box fields are generally more accessible because they are already prominently displayed on the page. Keep in mind that an existing field may have a slightly different name.
To refine the list of existing UDFs displayed on the page, use the Text Filter box to search the results.
Before disabling a User Defined Field, make sure it is not being used in any rules or active communication templates. If it is, you will need to update the configurations of these prior to disabling the UDF.
Manual Configuration vs. Bulk Management
Case Central provides options for the manual configuration of User Defined Fields, allowing administrative users to create, edit, and enable or disable UDFs as needed. In certain circumstances, including when preparing for initial implementation, setting fields up in bulk can save time. Bulk management is also crucial for migrating UDFs from one Case Central instance to another, such as when updates are ready to be pushed from a test environment into production.
When to Use:
Manual Configuration
Adding or updating one to three UDFs (Field Label, Type, Status)
Select List fields with one to three values for response options
Bulk Import/Export
Adding or updating more than three UDFs (Field Label, Type, Status)
Select List fields with more than three values for response options
Migrating UDFs between environments
Backing up or sharing UDF configurations
User Defined Fields Manual Configuration
Click the
 button in the upper right-hand side of the screen.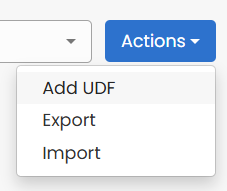
Select the Add UDF option from the dropdown to open the panel will be displayed.
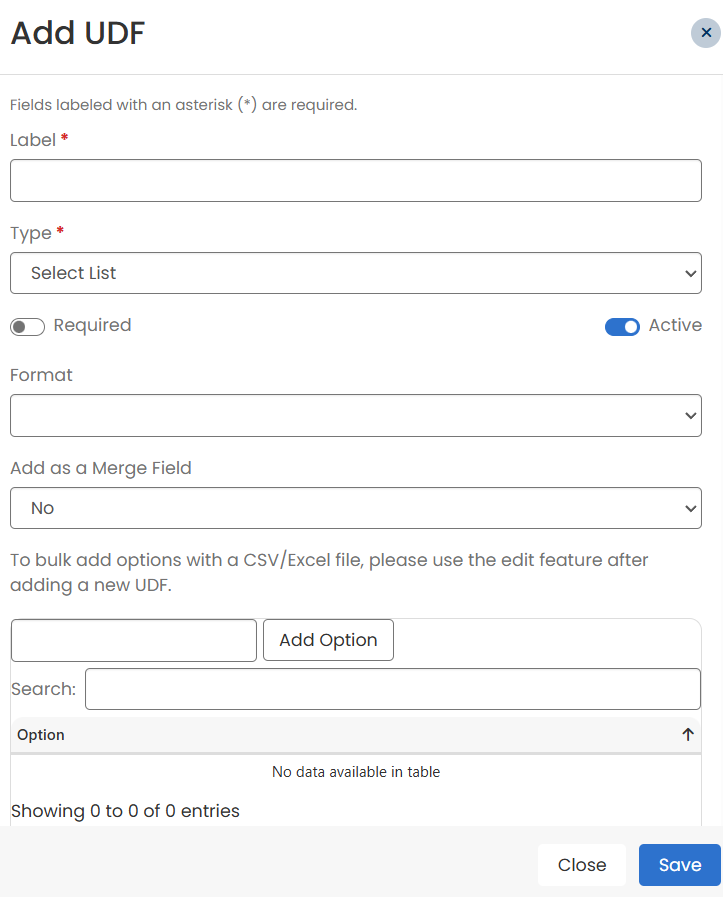
Enter the name of the new field in the Label box.
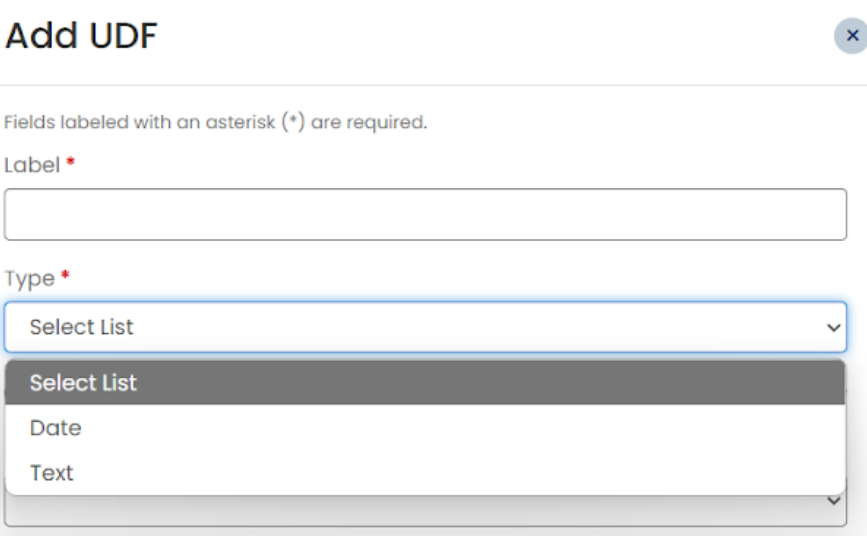
Select the Type of the new field. The new field may be a Select List, Date or Text field.
To make the field Required, click the
 icon to move the toggle switch to the right position
  . By default, the field is set as Optional.
Set whether the field should be Active. By default, new fields are Active. To make a field Inactive, click the
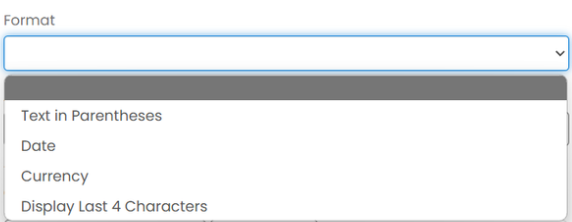
icon next to Active label to move the toggle switch to the left .If you want any special formatting for the new field, an optional setting is available to select from Text in Parentheses, Date, Currency, and Display Last 4 Characters.
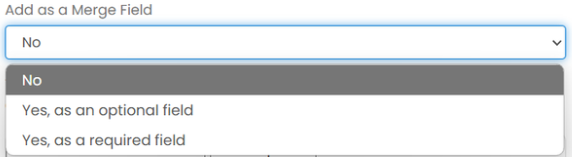
Select if you want the new field to be available as a Merge Field for letter and email communications. The options are No, Yes (as an Optional field), and Yes (as a Required field).
Note
If it is set to be a Required Merge Field, the team member will be prompted to enter a value prior to generating an email or letter if the message includes the field and it is empty.
If your new User Defined Field is a Select List, you can manually add the response options by entering them in the box provided and clicking Add Option.

The value entered will show in the Options list below.

Click Save.
Click the
 icon under Actions on the page. This will open the screen.
If you want to upload values for your new field, first click the
 icon to download the data list template file to format your data. Update the file with the appropriate data, save the file as a CSV file, and then click
  to import the data into the system.
If you want to make an existing response option Inactive, click the
icon to move the toggle switch to the left position. The value will no longer be shown or selectable.Make any additional desired updates to the field parameters.
Click Save.
To disable a UDF, click the
icon in the Active column to move the toggle switch to the left position.To enable a UDF, click the
icon in the Active column to move the toggle switch to the right position.
Note
You can also enable or disable a User Defined Field by updating the Active field on the panel.
User Defined Fields Bulk Management
Select Lists
As noted above, if you are creating a Select List with a relatively small number of options for the response value, it is typically fastest to enter them manually using the panel. On the other hand, If you have a long list of options for the new field's responses, it is more efficient to upload a CSV file containing these values.
The Import function is only available for UDFs that have already been created, so you will need to add the field first.
If you want to verify that a value already exists in the list of response options, but the list is long, a search box is provided to help locate the value.
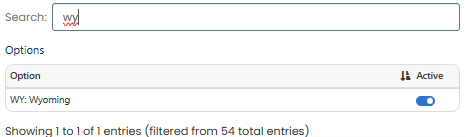
When importing values into a UDF Select List, the system handles options as follows:
New options – If you added a new option to the UDF list after exporting, it will appear in the system but will be disabled by default. You need to manually enable it using the
 button.
Existing options – The enabled/disabled status of existing options will update to match the imported file:
If an option was enabled in the system but disabled in the imported file, it will be disabled after import.
If an option was disabled in the system but enabled in the imported file, it will be enabled after import.
The Export User Defined Fields feature allows you to download a list of all UDFs in the system, including both active and inactive fields.
Click the
button in the upper right corner of the screen and select Export.The Export UDFs panel will open containing a list of all User Defined Fields in the system, including disabled UDFs as well.
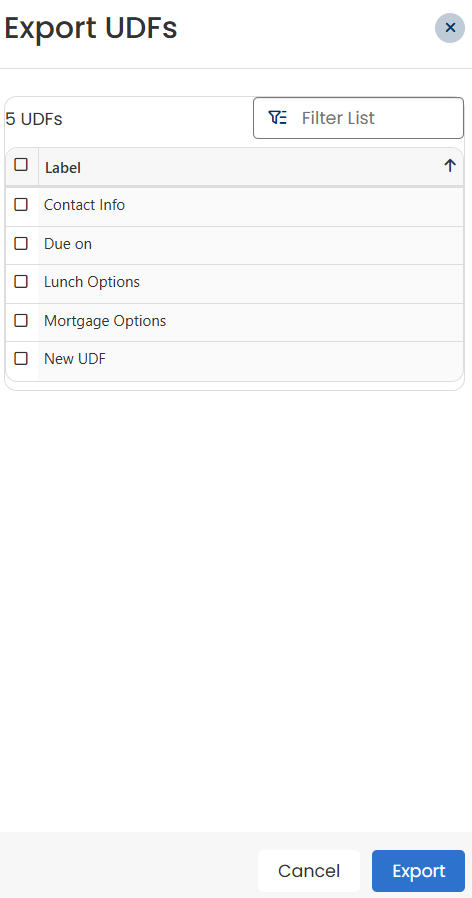
Select the fields you want to export by clicking the checkbox next to each field. Multiple fields can be exported at the same time.
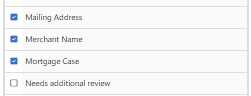
Click the
 button.
A JSON file will be generated.
The Import User Defined Fields feature allows you to upload and restore UDFs from a previously exported JSON file.
Click the
button in the upper right corner of the screen and select Import.A dialog box will appear, allowing you to browse and select the JSON file you want to import.

Once the file is selected, the Import UDFs window will open.
Choose the fields you want to import from the JSON file.
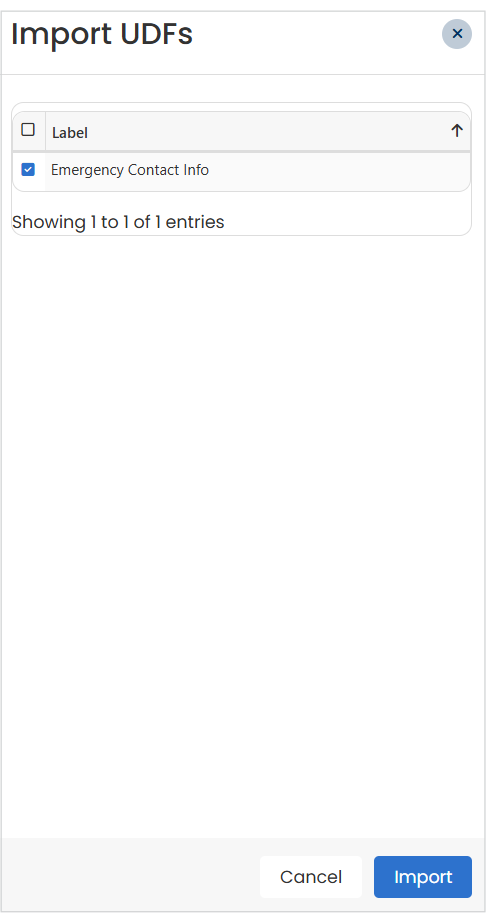
Click the Import button to complete the process.
Note
Importing a UDF does not delete any existing UDFs - it only updates their settings.